

Select products with silver colour

Exclusive: free print templates
We have compiled some of the design and product ideas of our media designers to give you inspiration as well as practical examples. Download the free InDesign samples (.zip file) and create your individual metallic look.

Frequently asked questions
How do I set up the silver colour in my artwork files? What do I need to consider?
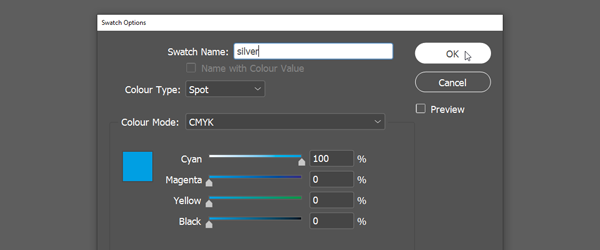
The artwork files must contain additional information about the spot colour. This is a new colour swatch that has to be added. Please observe the following settings for the colour swatch:
- Name: "silver"
- Colour type: spot
- Colour value: 100 % cyan
How does ONLINEPRINTERS know which elements of my print product require finish?
If you set up the silver colour in Adobe InDesign or Adobe Photoshop, then you need to add a new colour swatch with special requirements. During production, this colour swatch will show our print experts where to apply the silver colour and where not. We will show you how to properly set up the silver colour in our Step-by-step instructions for InDesign.
Are colour gradients possible?
If you want to implement a colour gradient, create it with the CMYK colours. Colour gradients with silver are not possible, because the silver colour always requires the opacity of 100 %.
I want to create silver highlights – what do I need to consider?
If you want to print pure silver, make sure that the area under the spot colour (silver) is white. Alternatively, when you make an all-over print, you can set the spot colour to "Leave out"; in order to cover these areas with silver only.
How can I create gold and bronze with the silver colour?
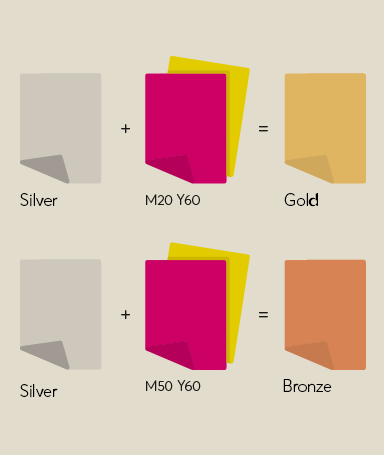
Vibrant gold and bronze colours are also possible with silver. You can obtain shimmering gold with the colour value C0 M20 Y60 K0. You can obtain metallic bronze with the colour value C0 M50 Y60 K0. By adding silver, we make the CMYK colours shine. Please remember: Silver is always the first colour to be applied under your motif.
What makes the metallic effect look its best?
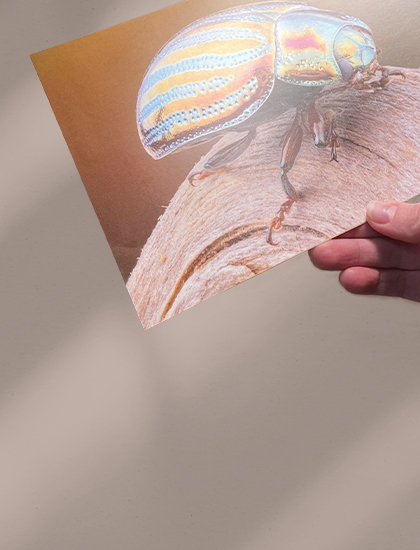
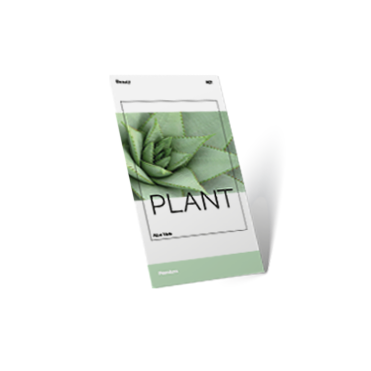
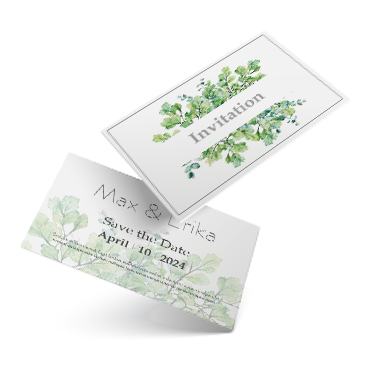
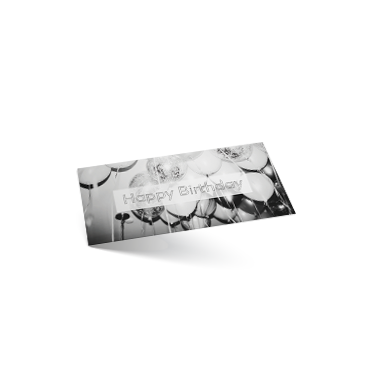
You can provide your design with a partial or all-over finish. If you use a partial finish, you can accentuate special elements. Designs provided with all-over silver finish look truly striking. To achieve the best possible result, we recommend using light colours. The more colour is applied, the weaker your metallic effect will be.
Are there any templates I can use?
You can download free print templates for a great number of our products from the respective product page. These are available in the following formats: PDF and Adobe InDesign. On this page, you will also find free designs that you can adjust as you like.
The nuts and bolts of artwork setup
Several things need to be observed when creating artwork files:
- All elements you wish to apply the finish to must be set to "Overprint".
- Silver colour can be extended to the edge.
- Do not set up transparency of the silver colour, since it cannot be observed during printing.
- In order to print the silver colour, a new colour swatch must be added in the artwork files. Please remember:
- Name: „silver“
- Colour type: spot
- Colour value: 100 % cyan
When you use the silver colour, you will need a printable PDF file with special requirements for both partial and all-over finish. In particular, it must contain advanced colour information regarding positioning of the finish. Our Step-by-step instructions will show you how to properly set up the artwork files.
How do I properly set up silver colour?
Step-by-step instructions with Adobe InDesign
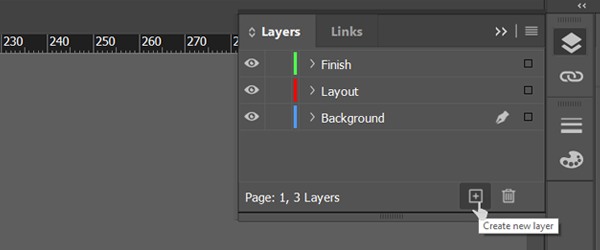
1. Create and name layers
Go to the Layers window and double-click to rename the existing layer to "Background". Use the "Create a new layer" symbol to add two additional layers and rename them to "Layout" and "Finish".
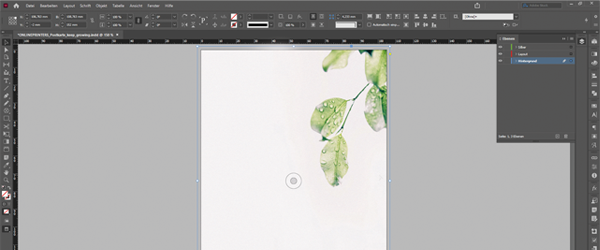
2. Create background
We use an image placed in the middle of the workspace for the background. You can alternatively draw a frame of the desired size by means of the Rectangle Frame tool and then select the desired background colour using the "Colour swatches" window.
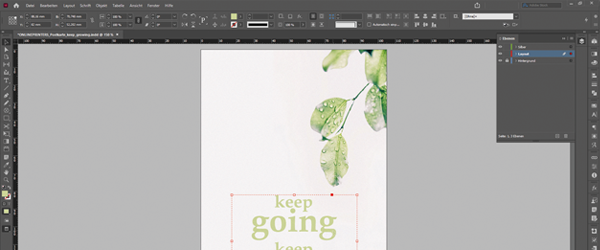
3. Add logo and text
In the next step, we will add the design and the text. We created the elements in this example in Adobe Illustrator beforehand. But you are free to import your texts and logos to InDesign from any other program. To do so, select all elements and add these on the "Layout" layer.
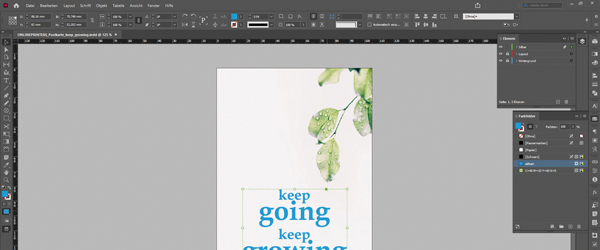
4. Select elements
Once you have placed the logo and text on the desired position, you can set up the finish. Copy all elements you wish to apply the finish to from the layer "Layout" and insert these into the "Finish" layer via "Edit" > "Paste in place".
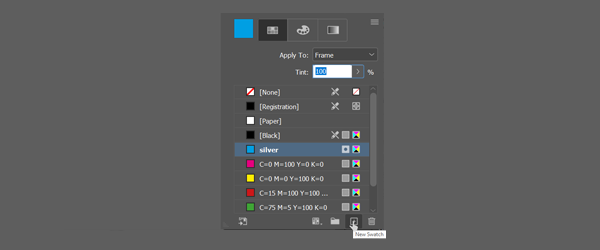
5. Set up spot colour
Now reopen the "Colour swatches" and create a new colour using the "New colour swatch" button. Double-click this colour to open the colour swatch options. Enter the required name by ONLINEPRINTERS here.
6. Name colour swatch
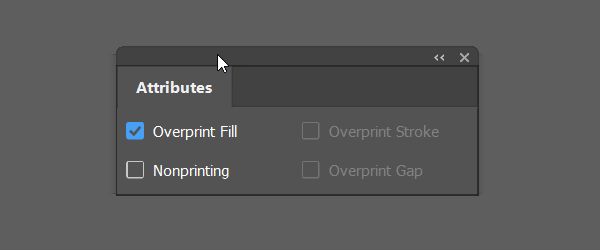
7. Set up overprint
Now set all elements that require finish to "Overprint". To do this, open the "Attributes" window (Window > Output > Attributes), select all elements and enable the "Overprint Fill" checkbox.

8. Check artwork files in separations preview
You can use the separations preview to check whether your settings are correct. Show them via "Window > Output > Separations preview". This function is disabled by default in the window that pops up.

9. Show separations preview
Click the drop-down menu to select the individual colour channels in the "Separations" tab. The colour channel of your "silver" finish will now become visible here too. Everything has been set up correctly if you select the colour channel "silver" and all elements to obtain the finish are displayed in black.

10. Nearly there
Now save your project as a printable PDF file, order your print product at ONLINEPRINTERS and upload your artwork files.